

Description
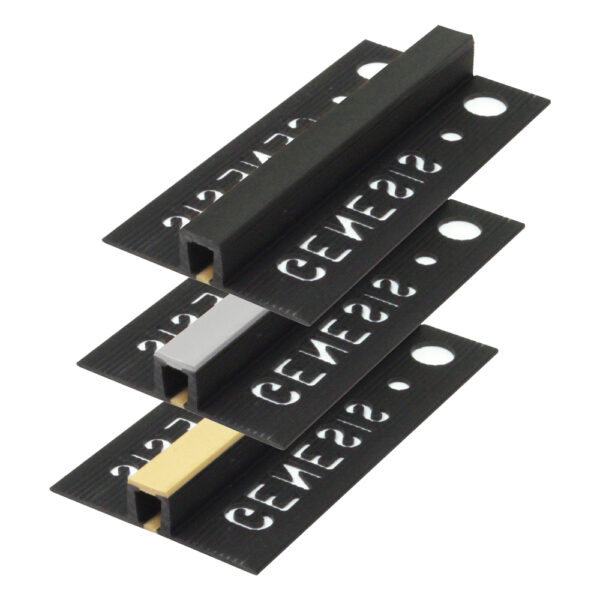
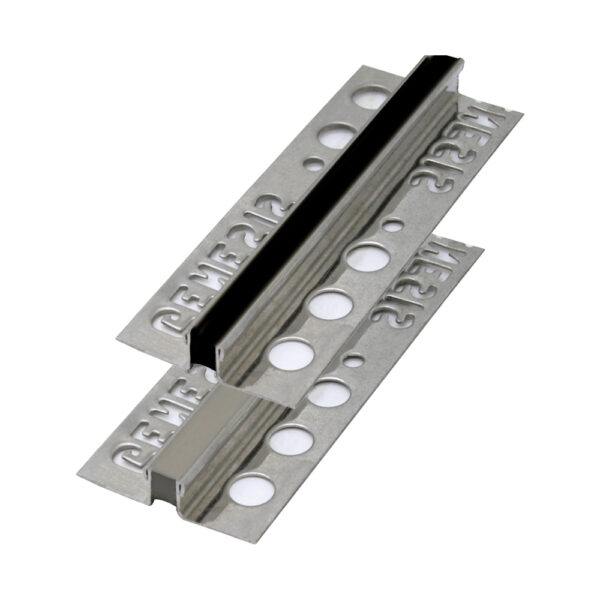
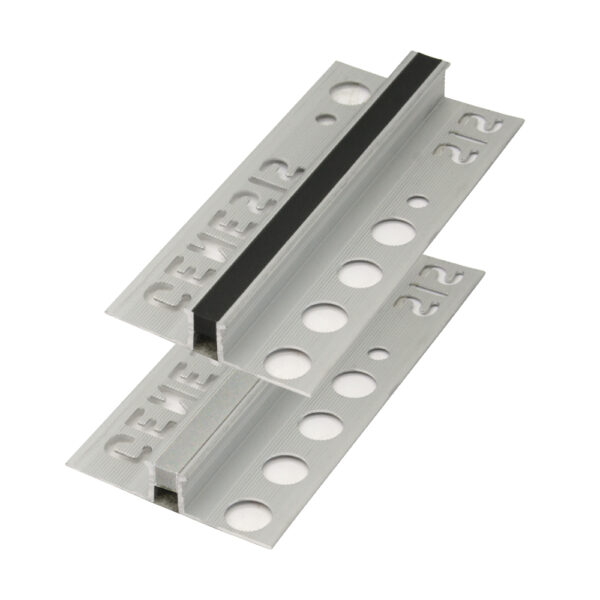
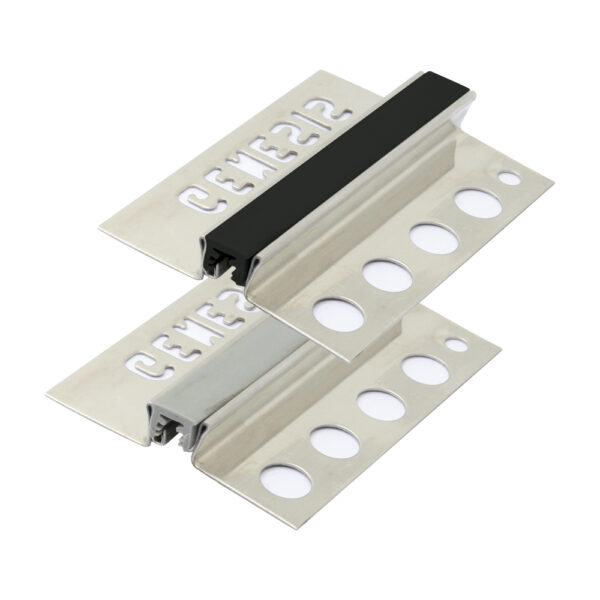
The Genesis MLT PVC Movement Joint is a light duty PVC movement joint designed to protect the edge of the floor covering from light traffic (e.g. foot traffic). It features a 5mm wide rubber blended movement zone that absorbs compressive, tensile and shear stresses. Three colours are available: 16 Black, 25 Beige and 35 Grey. Each colour is available in either 10mm or 12.5mm internal height, in 2.5 metre lengths.
One of the anchoring legs of the Genesis MLT PVC Movement Joint which is primarily designed to sit under the floor covering can be removed by hand on site by snapping along the V shaped groove in the extrusion. This now modified profile with one remaining anchoring leg can be used as a perimeter joint providing a 10mm cushion around the entire installation between the floor covering and the wall.
The Genesis MLT PVC Movement Joint is also suited for exterior use, e.g. on facades or balconies.
Where to use:
Movement Joints such as the Genesis MLT PVC Movement Joint must be installed in certain areas and positions to prevent tiles debonding from the substrate, industry guidelines suggest that the maximum field should be no more than 10m in each direction but in practice, depending on the individual applications it tends to between 5-8m.British Standards (BS) 5385 covers the requirements and methods for movement joints applications. Part 3: 1989-Section 3-19.1.1 states the building designer should assess the magnitude of any stresses and decide where movement joints should be located taking into consideration all the relevant factors. Movement joints must be installed directly above any changes in substrate or movement joints/gaps in the substrate.
Installation:
1. Ensure the correct depth of Genesis MLT PVC Movement Joint profile is selected according to the tile depth.
2. Using a suitable notched trowel spread tile adhesive onto the floor in accordance with the manufacturers guidelines.
3. Bed the profile firmly into the adhesive in the correct location – make sure that the adhesive penetrates the holes in the flange.
4. Spread the adhesive over the anchoring legs and bed the tiles firmly into the adhesive (best practice is for the profile to be approximately 1mm lower than the tile).
5. A grout joint should be left between the tile and the profile.
Click here to view this product on the Manufacturers website.


Reviews
There are no reviews yet