

Description
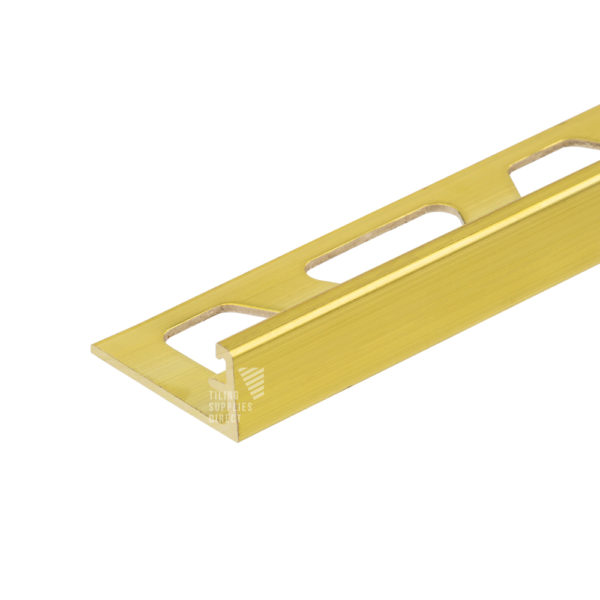
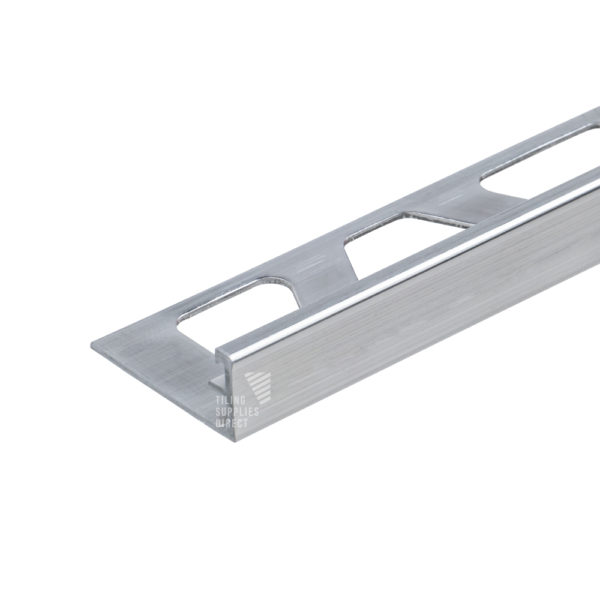
Genesis ESA Aluminium Straight Edge Tile Trim is an L shaped extruded aluminium profile designed to protect the edges of ceramic tiles or similar hard finishes fitted in wall and floor installations. The suitability of aluminium must be determined if chemical or mechanical stresses are anticipated.
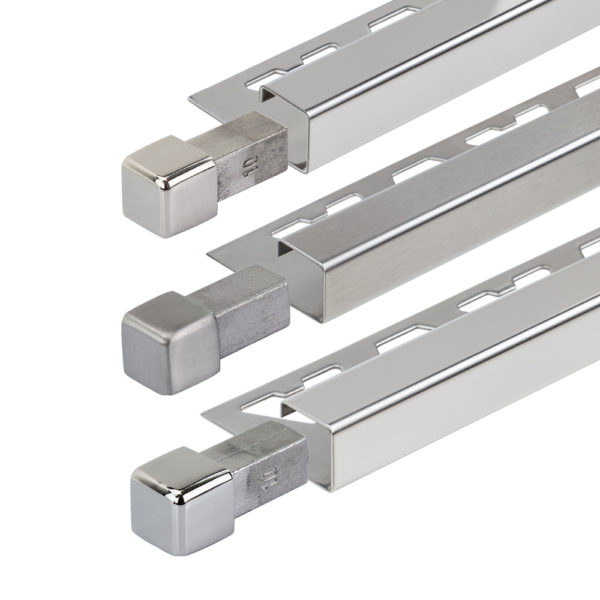
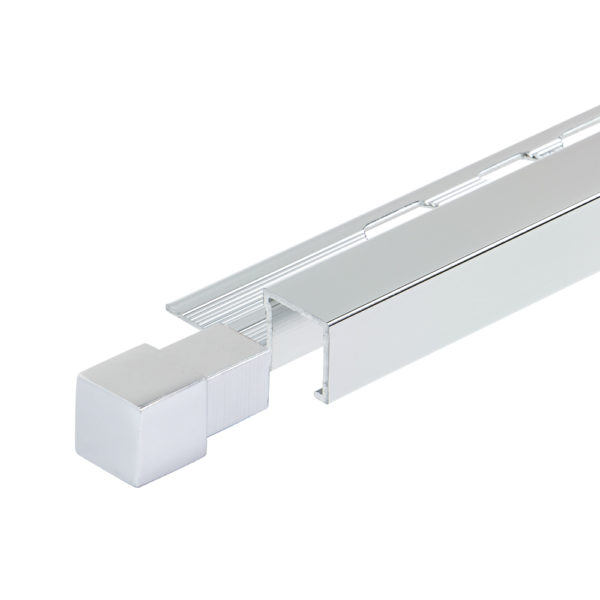
Genesis ESA Aluminium Straight Edge Tile Trim is available in internal depth sizes of 2.25, 3.25, 4.25, 6, 8, 10, 12, 15, 18 and 22.5mm. All profiles come in lengths of 2.5 metres.
Genesis ESA Aluminium Straight Edge Tile Trim is available in the following colours/finishes: 01 White, 02 Matt White, 16 Black, 17 Matt Black, 18 Brushed Black, 34 Soft Grey, 80 Mill Aluminium, 81 Matt Silver, 85 Pewter, 86 Bright Brass, 88 Nickel, 89 Bronze, 90 Brushed Brass, 91 Bright Silver, 94 Brushed Effect, 95 Bright Copper, 96 Brushed Copper, 98 Antique Rose, 99 Bright Rose, 101 Chrome Plated, 411 Granite, 414 Bath Stone, 425 Sand Stone, 435 Dark Granite, V90 Vintage Brass, V94 Vintage Steel & V96 Vintage Copper.
The natural Aluminium finish (Mill Finish) has a oxide film of approx 0.2 microns, when mechanically & chemically polished the anodising process increases this to 5 microns. The Matt finishes are up to 20 microns in thickness and the powder coated finishes are up to 100 microns, making them suitable for external use with working temps. of -10°C to 60°C.
Genesis ESA Aluminium Straight Edge Tile Trim does not require any special maintenance. Oxidation films on Aluminium may be removed with a common polishing agent; however, they do reoccur. Damaged anodised finishes may only be repaired by recoating.
Aluminium must be tested to verify its suitability if chemical stresses are anticipated. Cementitious materials, in conjunction with moisture, become alkaline. Since aluminium is sensitive to alkaline substances, exposure to the alkali (depending on the concentration and time of exposure) may result in corrosion (aluminium hydroxide formation). Therefore, it is important to remove adhesive or grout residue from visible surfaces. In addition, ensure that the profile is solidly embedded in the setting material and that all cavities are filled to prevent the collection of alkaline water.
The anodised layer creates a finish that retains a uniform appearance during normal use. The surface, however, is susceptible to scratching and wear and may be damaged by tile adhesive, mortar, or grouting material. Therefore, setting materials must be removed immediately. Otherwise, the description regarding aluminium applies.
Installation:
- Select the most suitable depth size for your application according to tile thickness.
- Trowel tile adhesive over the area that forms the perimeter of the tiled covering.
- Press the perforated anchoring leg of the Genesis ESA Aluminium Straight Edge Tile Trim into the tile adhesive and align, mechanical fix if required.
- Trowel additional adhesive over the perforated anchoring leg to ensure full coverage.
- Solidly embed the tiles so that the tiled surface is flush with the top of the profile, the profile should not be higher than the tiled surface, but rather up to approximately 1 mm lower.
- Fill the joint completely with grout.
Click here to view this product on the Manufacturers website.


2 reviews for Genesis ESA Aluminium Straight Edge Tile Trim
Customer Images
David Wainwright